EFS Fuel File
Overview
Use the instructions below to create an EFS fuel file. Customers using EFS (Electronic Funds Source) will need to transfer fuel transactions to the Generic Omnitracs Fuel File.
Steps
- Visit www.efsllc.com.
- Mouse over Choose Login Area ... in the upper right corner of the home page and select eManager.
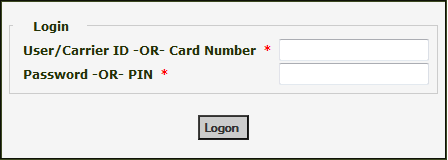
- Log in to the site with your ID or Card Number and your password or PIN.
- Navigate to Select Program > Reports and Export > Transaction Export.
- Enter a Start Date and End Date.
- Change Currency to “Multicurrency.”
- Change Export Format to “Comma Delimited.”
- Select Submit.
- Select Click Here to View File.
- A prompt to “Open/Save/Cancel” appears. Ensure that the file is in .txt format and save the file to your computer.
The EFS template must be in .txt format in order to upload to Omnitracs XRS. - When you import the EFS fuel file into Omnitracs XRS, select TCH from the Vendor drop-down list in the Import Fuel File window (Tools > Manage Fuel Receipts > Import Fuel File).


After you complete the steps above, you can access the file when you Import a Fuel File into Omnitracs XRS.
| Instead of using the EFS template, you have the option of transferring EFS transactions to the generic fuel file template. If you choose this option, download your file in Excel (.xls) format or convert the .txt file to a .csv file for easier transfer. See Generic Omnitracs XRS Fuel File for more information. |
| You can schedule this report to be emailed to you on a daily, weekly, or monthly basis by selecting "Schedule Report" after you log in. |