Comdata Fuel File
Follow the steps below to create a Comdata fuel file for uploading into Omnitracs Tax Manager.
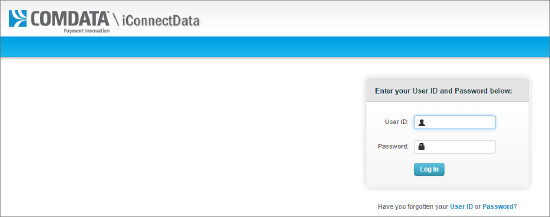
- Log on to w6.iConnectData.com.
- From the Reporting menu, select ReportQ.

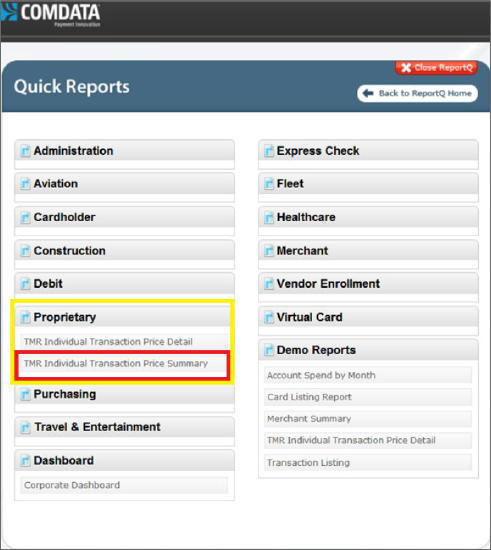
- From the Welcome to reportQ window, select Quick Reports.

The Quick Reports window opens.


- Under the Proprietary heading, select "TMR Individual Transaction Price Summary."
The TMR Individual Transaction Price summary window opens. -
Enter the Start Date and End Date of the report data you want to download. All other options should remain as they are.
-
Select the Excel Download button.
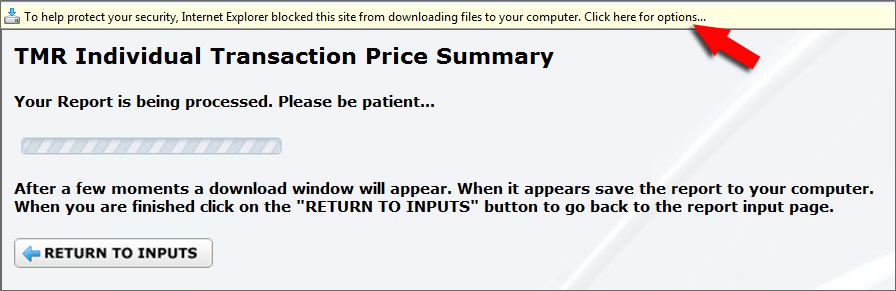
It may take up to four minutes for the file to appear.
-

-
Depending on your pop-up blocker settings, a message may appear prompting you to choose downloading options. Click on the message to see your options and either open the blocker to allow downloading or download the file and save it to your computer.

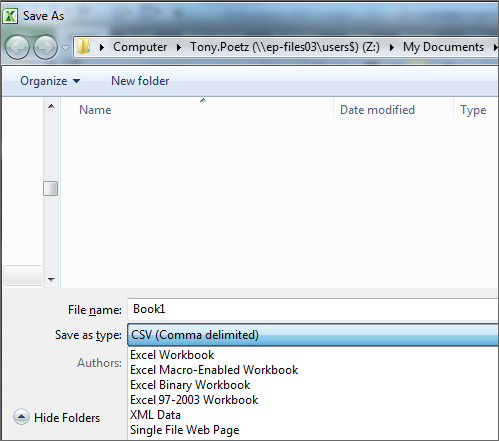
- Save the file as an Excel Workbook (.xls).
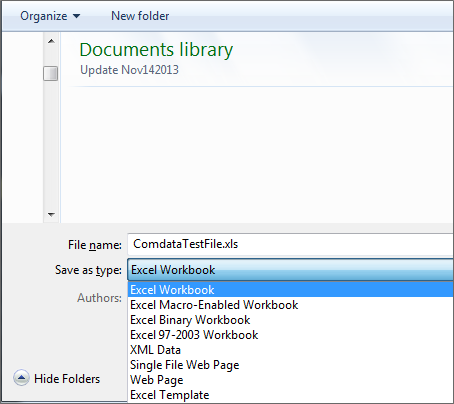
- In order to upload the file to Omnitracs Tax Manager, you must convert the file from .xls to .csv. Go to the folder where you saved the Comdata file and double-click to open it.
- Select File > Save As.
- Select the folder where the .xls file is located and then select CSV (Comma Delimited) from the Save as type list.

The file is saved to the same folder, but it is now in .csv format.
- After completing the steps above, you can access the file when you Import Fuel File into Omnitracs Tax Manager.