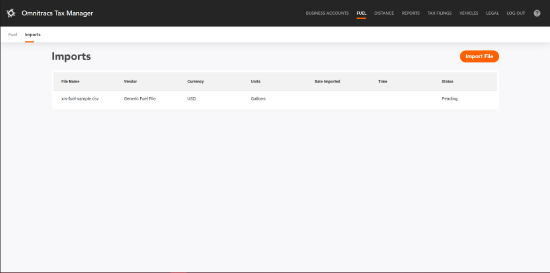
Fuel Imports Tab
Overview
From the Fuel page, Omnitracs Tax Manager allows you to add individual fuel entries into the system. The Fuel Imports page allows you to import multiple entries at one time.
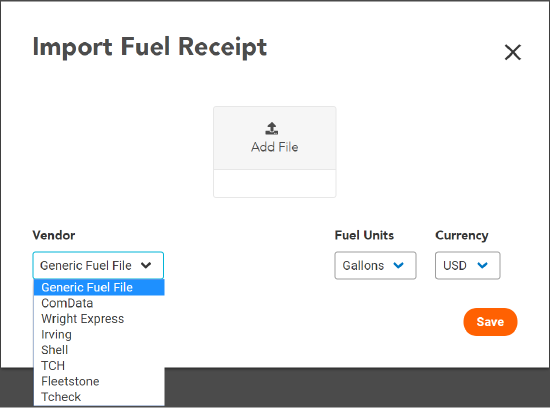
Omnitracs Tax Manager allows the import of fuel from a multitude of vendors, including:
- ComData
- Wright Express
- Irving
- Shell
- TCH
- Fleetstone
- Tcheck
Omnitracs Tax Manager also supports a generic fuel file template for uploads of vendors not listed above. It can be found here.
See the topic Create a Fuel File - Vendors for instructions on creating a fuel file that can be uploaded.
Importing Fuel
Perform the following to import a fuel file:
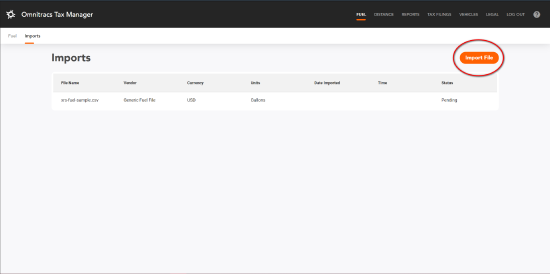
- From the Fuel Imports page, select Import File.
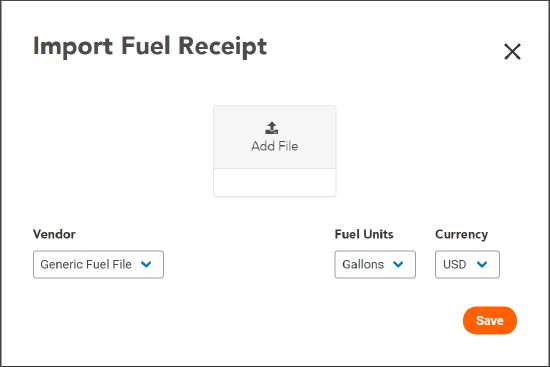
The Import Fuel Receipt dialog appears.
- Choose the appropriate fuel vendor from the drop-down menu.
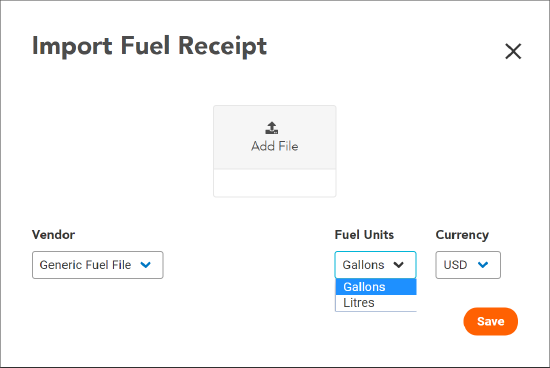
- Choose the appropriate unit of measurement (gallons or litres) from the drop-down menu.
Omnitracs Tax Manager supports only one Fuel Unit per fuel file, gallons or litres. If your fuel file contains both gallons and litres, separate it into two separate files and upload them one at a time.
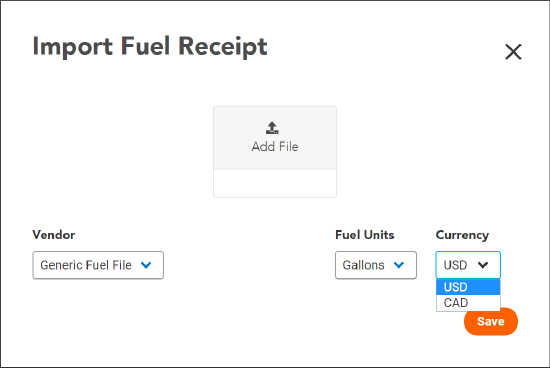
- Choose the appropriate currency unit (USD or CAN) from the drop-down menu.
- Select Add File. A Windows Explorer file picker dialog appears.
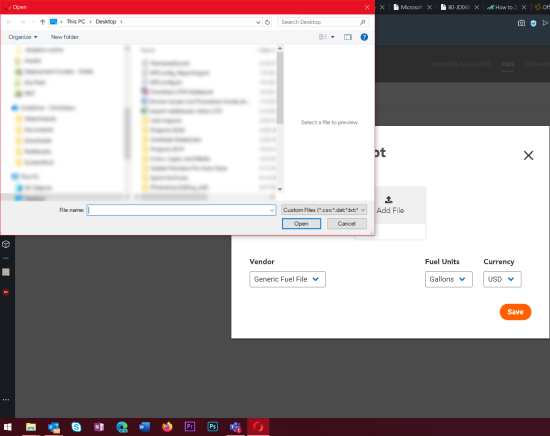
- Navigate to, and choose the fuel file. (In the file-picker dialog, click once on the file name, then select the Open button.) The name of your fuel file will appear in the Import Fuel Receipt dialog.
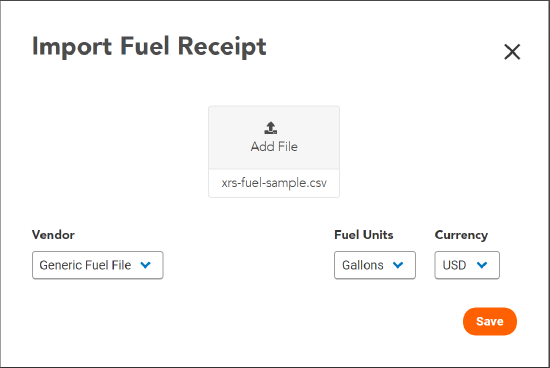
- Select Save. The Imports page appears again, showing the newly-uploaded fuel file. The upload's status is noted in the far-right column, Status.
