The Distance Screen
The Distance screen is a list of distance records currently entered in the Omnitracs system. From this screen, users can view distance records, add distance records, or edit existing records.
When the Distance screen opens all items are displayed in a paged list. To move from page to page, click the page number or arrows on the page bar at the bottom of the list.
There are several ways you can affect the items are that are displayed.
To change the number of items shown on a single page, click the Records per Page arrow and choose the appropriate number.
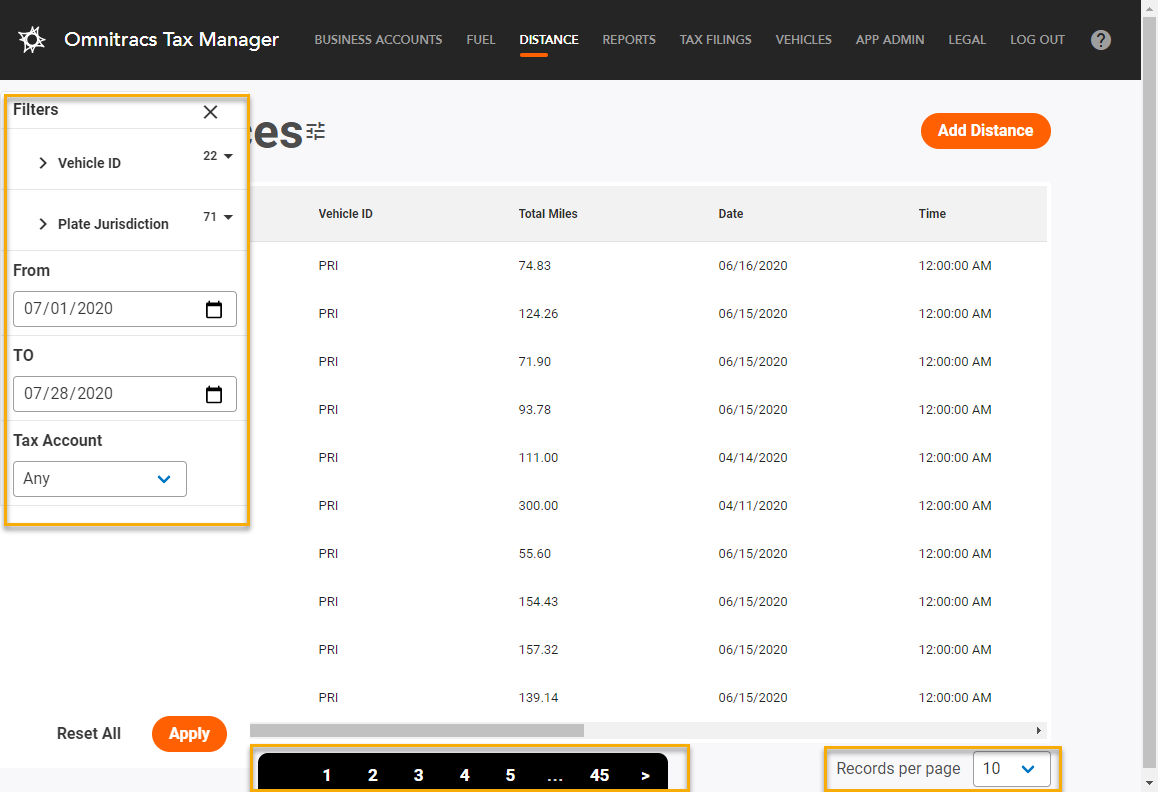
To limit the list to only selected items, click the Filter icon.

The Filter panel opens. You can choose to filter on a Date Range, Jurisdiction, Vehicle ID and/or Tax Account. Choose the proper criteria; items that meet at least one of the selected criteria will be displayed in the list.
- Date Range - enter the beginning (From) and end (To) date that you want included in the list. To select a date, click the Calendar icon; a calendar opens. Click the arrows to change the month, and click on a date to select it.
- Jurisdiction - click Jurisdiction to open a list of possible jurisdictions. Jurisdictions with a check will be included in the list; to include/exclude a jurisdiction, check/uncheck the box.
- Vehicle ID - click Vehicle ID; a Search field opens. Start typing the vehicle ID in the field. A list of IDs that match the search pops up, select the IDs you want to include in the list.
- Tax Account - click the arrow to open a list of tax accounts. Click on the tax account you want to include in the list.
Note: If Tax Account is part of the filter, all vehicles in that tax account will be shown until additional filters are applied.
Once you have all of your filters selected, click the Apply button. The list is filtered to show only those items that meet at least one of the selected criteria.
Adding Distance
Perform the following to add a Distance record.
- From the Distance screen, select the Add Distance button. The New Distance Record screen appears.
- Fill in the fields as necessary. Required fields are outlined in red.
- Select Save.
Add Distance Field Definitions
* Required fields are denoted by an asterisk.
| Field | Values | Definition |
|---|---|---|
| Jurisdiction | Drop-down, State or Province | State or Province in which miles driven (distance record) were accrued. |
| Total Miles * | Numeric | Number of miles or kilometers (non-toll) that were driven. |
| Date | Date (MM/DD/YYYY) | Date on which miles were driven. |
| Vehicle ID * | Drop-down (varies per company) | Vehicle that accrued miles for this recovery_ramdisk |
| Unit Type | Drop-down | Preferred unit of measure (miles or kilometers) |
| Beginning Odometer | Numeric | Odometer reading before accrued distance. |
| Ending Odometer | Numeric | Odometer reading after accrued distance. |
| Toll Miles | Numeric | Number of miles or kilometers that were driven on toll roads. |
| Comments | Alphanumeric | Comments relevant to distance record, up to 60 characters. |
Editing Distance
Perform the following to edit a Distance Record.
- Select the entry to be edited from the Distance screen. The Distance Record screen appears.
- Select the Edit icon. Fields will become editable.
- Make edits as necessary, including comments.
- Select Save.
Edit Distance Field Definitions
Field Definitions for editing distance entries are the same as for Adding Distance.